Valentines Treats Chocolate Truffles
Highlighted under: Baked Perfection
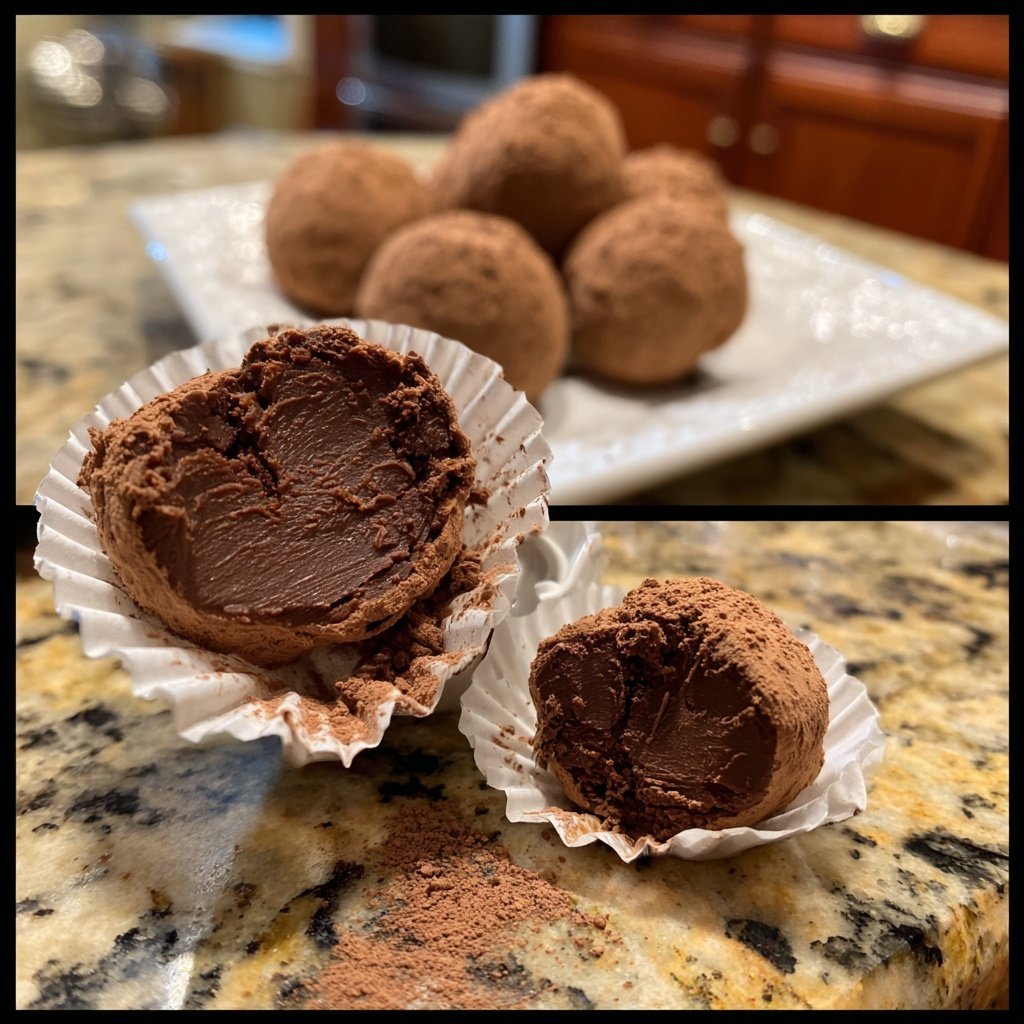
I love making these Valentines Treats Chocolate Truffles because they encapsulate the joy of giving something sweet and homemade. Each bite offers a rich chocolate experience with a hint of luxury. We often indulge in these during special occasions, and they never fail to impress. The creamy texture melts in your mouth, creating a delightful moment for anyone lucky enough to receive one. Plus, they are surprisingly easy to make, which means you can whip up a batch even on short notice!
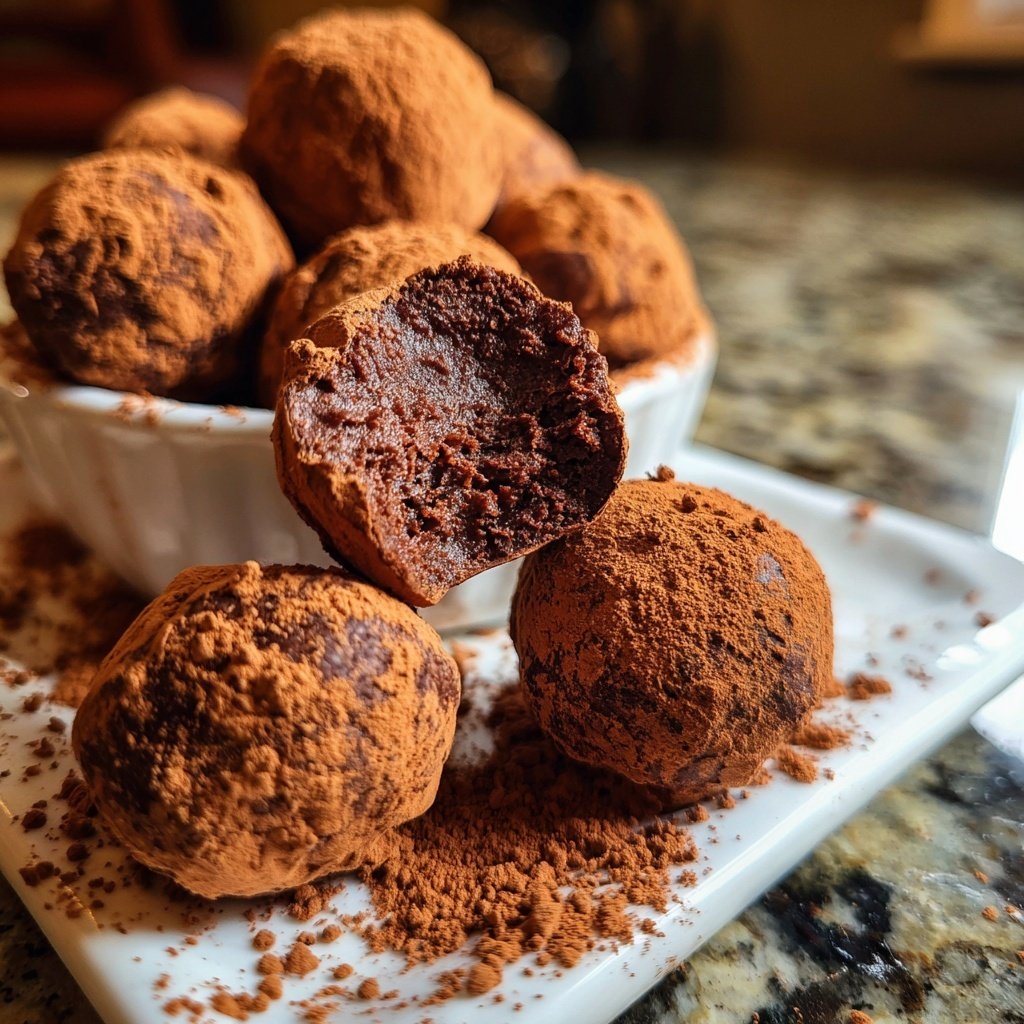
When I first experimented with making chocolate truffles, I was amazed at how simple yet rewarding it was. The method combines quality chocolate with cream, allowing for various flavor infusions. My favorite part is the rolling process where I get to coat them in cocoa powder, nuts, or coconut. It’s a delight to personalize each truffle based on what I have on hand.
One of the tips I found particularly helpful is to let the mixture cool completely before rolling. This ensures the truffles hold their shape and gives a firmer texture that melts perfectly in the mouth. Each time I make them, I feel like a chocolatier crafting little bites of happiness!
Why You'll Love These Truffles
- Decadent blend of rich dark chocolate and cream
- Customization options with various toppings
- Perfect for gifting or enjoying as a self-treat
Perfecting the Chocolate Truffle Base
The foundation of these chocolate truffles is the ganache created from a precise blend of dark chocolate, cream, and butter. The 70% cocoa dark chocolate provides the rich flavor and deep color, while the heavy cream contributes to the creamy, smooth texture. It’s crucial to heat the cream until just simmering; if it boils, it can cause the chocolate to seize when mixed. A high-quality dark chocolate enhances the truffle’s luxurious feel, so I recommend avoiding low-cocoa content varieties.
To achieve the ideal consistency, allow the chocolate mixture to sit for a minute after combining the hot cream. This melting phase is vital for a glossy finish. Stirging until completely smooth prevents any undesirable lumps. The addition of butter adds a silky richness that elevates the flavor profile. It’s important to incorporate the butter thoroughly until it completely melts into the ganache for the final truffle mixture to be cohesive.
Chilling and Shaping Techniques
Chilling the ganache is a crucial step; this process allows it to firm up, making it easier to shape into truffles. Aim for a chilling time of about two hours in the refrigerator. However, if you’re short on time, a 30-minute chill in the freezer will also work—just keep an eye on it to prevent it from freezing solid. The right temperature is when the mixture is firm but pliable enough to roll without sticking to your hands.
When forming the truffles, I find using a small cookie scoop gives consistent sizing, creating an orderly look. However, you can also roll them by hand—just be prepared for a little mess! If your hands get too warm while rolling, the mixture can soften too quickly. To combat this, you might want to chill briefly between shaping sessions. A dusting of cocoa powder on your hands can also prevent sticking.
Coating and Storage Tips
The coating is where you can let your creativity shine. Choose from a variety of toppings such as cocoa powder or chopped nuts, but ensure they are finely chopped to create a pleasant texture contrast. I suggest toasting nuts slightly before using them for an enhanced flavor. If you're looking for a dairy-free option, consider using coconut cream in place of heavy cream and a dark chocolate that is vegan-friendly, and roll the truffles in shredded coconut for a tropical twist.
To store your truffles, place them in an airtight container lined with parchment paper between layers to avoid sticking. Refrigerating them can extend their freshness for up to two weeks—though I’d be surprised if they last that long! For longer storage, you can freeze them for up to a month. Make sure to thaw them in the refrigerator for a few hours prior to serving to maintain the best texture.
Ingredients
Gather these ingredients to create your delicious chocolate truffles:
Chocolate Truffle Base
- 200g dark chocolate (70% cocoa)
- 100ml heavy cream
- 50g unsalted butter
- 1 tsp vanilla extract
Coatings
- Cocoa powder
- Chopped nuts (hazelnuts, almonds)
- Shredded coconut
- Sprinkles
Make sure to have your toppings ready before you start rolling the truffles!
Instructions
Follow these steps to create your chocolate truffles:
Make the Chocolate Mixture
Chop the dark chocolate into small pieces and place it in a heatproof bowl. In a small saucepan, heat the heavy cream over medium heat until it just begins to simmer. Pour the hot cream over the chocolate and let it sit for a minute, then stir until completely melted and smooth. Add the unsalted butter and vanilla extract, mixing until fully combined.
Chill the Mixture
Cover the bowl with plastic wrap and refrigerate the mixture for about 2 hours, or until it becomes firm enough to handle.
Form the Truffles
Using a small cookie scoop or your hands, take a portion of the chilled mixture and roll it into a ball. Repeat this process until all the mixture is formed into balls.
Coat the Truffles
Roll each truffle in your desired coatings. I love mixing it up; some get sprinkled with cocoa, while others are rolled in chopped nuts.
Store or Serve
Place the truffles in an airtight container and refrigerate until ready to serve. Enjoy these delightful treats with your loved ones!
These truffles are best enjoyed fresh but can be stored for up to a week in the fridge.
Pro Tips
- For an added twist, consider infusing the cream with orange zest or espresso for a unique flavor profile.
Serving Suggestions
These chocolate truffles are fabulous as is, but they can also be dressed up for special occasions. Plating them with fresh berries and a drizzle of chocolate sauce can create a stunning dessert presentation. You can also pair them with a glass of red wine or dessert wine to elevate the tasting experience. Another idea is to gift them in decorative boxes for Valentine's Day, making them a thoughtful, personalized treat.
For an interactive twist, consider a truffle-making night with friends or family. Set up a coating station with various toppings so everyone can customize their own. This not only makes for a fun evening but allows each person to create a unique treat that suits their taste.
Troubleshooting Common Issues
If your chocolate ganache is too thick after chilling, simply let it sit at room temperature for a short while or microwave it in short bursts of 5 seconds to soften slightly. Be cautious not to overheat, as it can cause the mixture to lose its creamy consistency. Likewise, if the truffles spread out too much while rolling, your ganache may not have chilled long enough, so pop it back in the fridge.
Should your truffles fail to hold their shape after rolling in coatings, check that the mixture is firm enough prior to coating. If the chocolate melts during handling, it can lead to a sticky mess. Make sure to keep the coated truffles chilled until serving to help them maintain their shape!
Questions About Recipes
→ Can I use milk chocolate instead of dark?
Yes, you can use milk chocolate, but keep in mind that the truffles will be sweeter and less rich.
→ How long can I store these truffles?
They can be stored in an airtight container in the fridge for up to one week.
→ Can I freeze the truffles?
Yes, you can freeze them for up to three months. Just ensure they’re well-wrapped!
→ What other flavors can I add?
You can add flavors like peppermint extract, espresso, or even fruit purees for a different twist.
Valentines Treats Chocolate Truffles
Created by: Maribel Hayes
Recipe Type: Baked Perfection
Skill Level: Intermediate
Final Quantity: 24 truffles
What You'll Need
Chocolate Truffle Base
- 200g dark chocolate (70% cocoa)
- 100ml heavy cream
- 50g unsalted butter
- 1 tsp vanilla extract
Coatings
- Cocoa powder
- Chopped nuts (hazelnuts, almonds)
- Shredded coconut
- Sprinkles
How-To Steps
Chop the dark chocolate into small pieces and place it in a heatproof bowl. In a small saucepan, heat the heavy cream over medium heat until it just begins to simmer. Pour the hot cream over the chocolate and let it sit for a minute, then stir until completely melted and smooth. Add the unsalted butter and vanilla extract, mixing until fully combined.
Cover the bowl with plastic wrap and refrigerate the mixture for about 2 hours, or until it becomes firm enough to handle.
Using a small cookie scoop or your hands, take a portion of the chilled mixture and roll it into a ball. Repeat this process until all the mixture is formed into balls.
Roll each truffle in your desired coatings. I love mixing it up; some get sprinkled with cocoa, while others are rolled in chopped nuts.
Place the truffles in an airtight container and refrigerate until ready to serve. Enjoy these delightful treats with your loved ones!
Extra Tips
- For an added twist, consider infusing the cream with orange zest or espresso for a unique flavor profile.
Nutritional Breakdown (Per Serving)
- Calories: 380 kcal
- Total Fat: 26g
- Saturated Fat: 15g
- Cholesterol: 195mg
- Sodium: 85mg
- Total Carbohydrates: 32g
- Dietary Fiber: 3g
- Sugars: 24g
- Protein: 6g