Chewy Brownies With Starter
Highlighted under: Baked Perfection
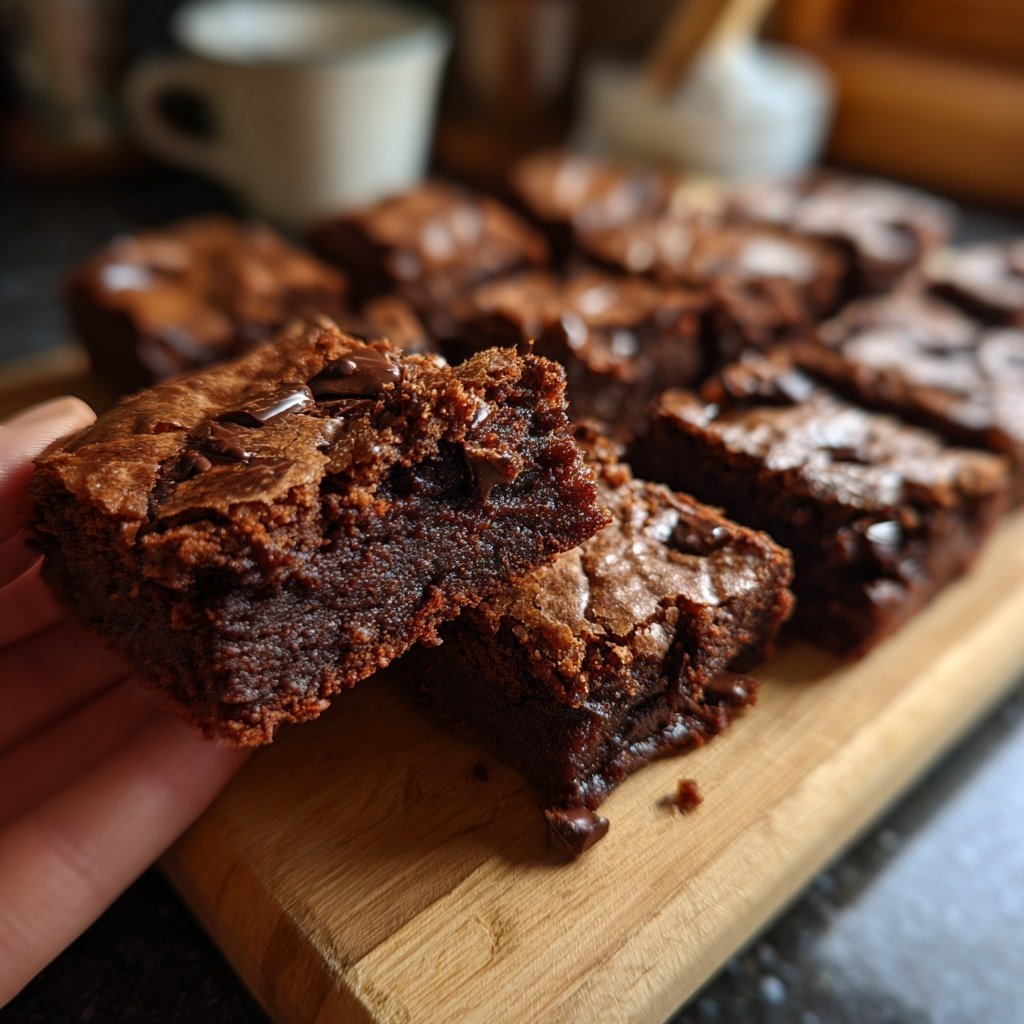
When I first stumbled upon the idea of using a starter for brownies, I was skeptical. However, I decided to give it a try, and the results blew me away! The brownies turned out incredibly chewy with a depth of flavor that was surprisingly rich and satisfying. This method not only adds moisture but also infuses the brownies with a unique taste that elevates them beyond your typical treat. I couldn't wait to share this recipe, and I'm sure you'll fall in love with them just like I did!
As I experimented with different flour ratios in my brownies, switching to a starter was a game changer. I found that it not only enhanced the chewiness but also provided a slight tang that complemented the rich chocolate perfectly. The process of fermenting the starter before use added another layer of complexity, making these brownies a hit at every gathering.
To ensure they came out perfectly, I played around with the baking time, and found that just a few extra minutes made a big difference in texture. The key is to remove them from the oven while they are still slightly underbaked for that ideal chewy texture. I could not believe how quickly they disappeared!
Why You'll Love These Brownies
- Incredibly chewy texture that satisfies every bite
- Unique flavor from the starter that elevates classic brownies
- Perfect for serving at parties or for an indulgent treat
Choosing the Right Starter
The type of starter you use can significantly influence the flavor profile of your brownies. A sourdough starter, for example, imparts a tangy note that beautifully complements the sweetness of the sugar and cocoa. If you don't have sourdough, consider using a liquid yogurt or buttermilk as a starter for a milder flavor. Just be mindful of the consistency; it should not make the batter too runny. Aim for a starter that's active, meaning bubbles are present, to ensure the brownies rise nicely.
When using a starter, you might think it adds complexity that would intimidate novice bakers. However, it’s quite forgiving and easy to incorporate. For best results, give your starter a feeding the day before you plan to bake. This will ensure it's lively and ready to lend its goodness to your brownies, enhancing both moisture and chewiness without compromising the overall mix.
Perfecting Texture and Chew
Achieving the ideal chewy brownie texture hinges on correctly measuring your flour and cocoa powder. Too much flour can lead to a cakey outcome, while too little may result in a brownie that fails to hold its shape. For this recipe, I recommend lightly spooning flour into your measuring cup and leveling it off instead of scooping directly, which can pack in too much flour and negatively affect the texture. Properly mixed batter should be thick yet pourable, with visible glossy marks from the melted butter.
Another tip for enhancing chewiness is baking time. Every oven is different, so I suggest checking your brownies a minute or two before the 25-minute mark. They should look set around the edges but still slightly soft in the center. A toothpick inserted should come out with a few moist crumbs; this indicates they are gooey but cooked. Overbaking will lead to dryness, so err on the side of underbaking if uncertain.
Ingredients
Brownie Ingredients
- 1 cup all-purpose flour
- 1/2 cup cocoa powder
- 1/2 cup butter, melted
- 1 cup sugar
- 2 large eggs
- 1/2 cup starter (sourdough or any like starter)
- 1 teaspoon vanilla extract
- 1/4 teaspoon salt
Instructions
Steps
Prepare the batter
Preheat your oven to 350°F (175°C). In a bowl, mix melted butter and sugar until combined. Add eggs one at a time, then mix in the starter and vanilla extract.
Combine dry ingredients
In a separate bowl, whisk together flour, cocoa powder, and salt. Gradually mix this into the wet ingredients until just combined.
Bake the brownies
Pour the batter into a greased baking dish and bake for 25 minutes, or until a toothpick comes out with a few crumbs, indicating a chewy texture.
Enjoy Your Brownies!

Pro Tips
- For an extra chocolatey flavor, fold in some chocolate chips or nuts before baking. Allow the brownies to cool completely before cutting for cleaner edges.
Serving Suggestions
These chewy brownies are delightful on their own but can be elevated with a scoop of vanilla ice cream or a drizzle of caramel sauce. For an extra touch, consider adding a sprinkle of sea salt on top before serving. The contrast between the rich chocolate and the salt elevates the flavor to new heights. When hosting a gathering, cut the brownies into bite-sized squares; they make for an easy, mess-free dessert that guests can enjoy while mingling.
If you want to impress even further, you can layer these brownies with a cream cheese frosting. Simply whip together softened cream cheese, powdered sugar, and a touch of vanilla. Spread a thin layer over the cooled brownies for a luscious, creamy contrast that complements the chewiness perfectly. This added richness will have everyone asking for seconds!
Storage and Freezing Tips
To maintain the freshness of your brownies, store them in an airtight container at room temperature for up to four days. For longer storage, you can freeze them. Wrap individual brownies tightly in plastic wrap and then place them in a freezer bag, squeezing out excess air. Frozen brownies can be stored for up to three months. When you're ready to enjoy them again, simply thaw at room temperature or microwave for about 10-15 seconds for that freshly baked taste.
When defrosting, keep in mind that you can also warm the brownies in the oven at a low temperature for around 5-10 minutes. This will help rejuvenate their texture, making them as chewy and delightful as when they were first baked. Just be careful not to overheat, as this can lead to dryness.
Questions About Recipes
→ Can I use a different type of starter?
Yes, you can use any starter; just ensure it is active and bubbly for the best results.
→ How do I store leftover brownies?
Store them in an airtight container at room temperature for up to 3-4 days, or refrigerate for longer freshness.
→ Can I freeze the brownies?
Absolutely! Wrap them tightly in plastic wrap and then in foil. They can be frozen for up to 3 months.
→ What can I serve with these brownies?
Great options include vanilla ice cream, whipped cream, or even a drizzle of chocolate sauce for an indulgent treat.
Chewy Brownies With Starter
Created by: Maribel Hayes
Recipe Type: Baked Perfection
Skill Level: Intermediate
Final Quantity: 12 servings
What You'll Need
Brownie Ingredients
- 1 cup all-purpose flour
- 1/2 cup cocoa powder
- 1/2 cup butter, melted
- 1 cup sugar
- 2 large eggs
- 1/2 cup starter (sourdough or any like starter)
- 1 teaspoon vanilla extract
- 1/4 teaspoon salt
How-To Steps
Preheat your oven to 350°F (175°C). In a bowl, mix melted butter and sugar until combined. Add eggs one at a time, then mix in the starter and vanilla extract.
In a separate bowl, whisk together flour, cocoa powder, and salt. Gradually mix this into the wet ingredients until just combined.
Pour the batter into a greased baking dish and bake for 25 minutes, or until a toothpick comes out with a few crumbs, indicating a chewy texture.
Extra Tips
- For an extra chocolatey flavor, fold in some chocolate chips or nuts before baking. Allow the brownies to cool completely before cutting for cleaner edges.
Nutritional Breakdown (Per Serving)
- Calories: 380 kcal
- Total Fat: 26g
- Saturated Fat: 15g
- Cholesterol: 195mg
- Sodium: 85mg
- Total Carbohydrates: 32g
- Dietary Fiber: 3g
- Sugars: 24g
- Protein: 6g